Google Domains and Google Cloud Platform
So, you’ve got a domain from Google Domains. You also have a site you want to run on Google Cloud Platform. I encountered this same situation after transferring one of my domains to Google Domains and wanting to hook it up to a site I had set up on GCP. This one as a matter of fact!
I had found some information here and there, some old and some more recent, but nothing that put it all together for me. I ended up being able to cobble it together to find the solution, and that’s that I want to share with you here.
Regardless of whether or not you already have a site deployed on GCP, once you have transferred or purchased your domain with Google Domains, there are some steps to take. Likely, even if you’ve set up a test site with a public IP, it works, but that’s all you have at this point. Now, you’ll need to set up Cloud DNS and create a new zone. This will allow you to start sending traffic that your Google Domain is receiving to your GCP site.
In the Google Cloud Console, in the Navigation menu scroll down to the Networking category, hover over Network Services and select Cloud DNS. Next, you’ll click the Create Zone button.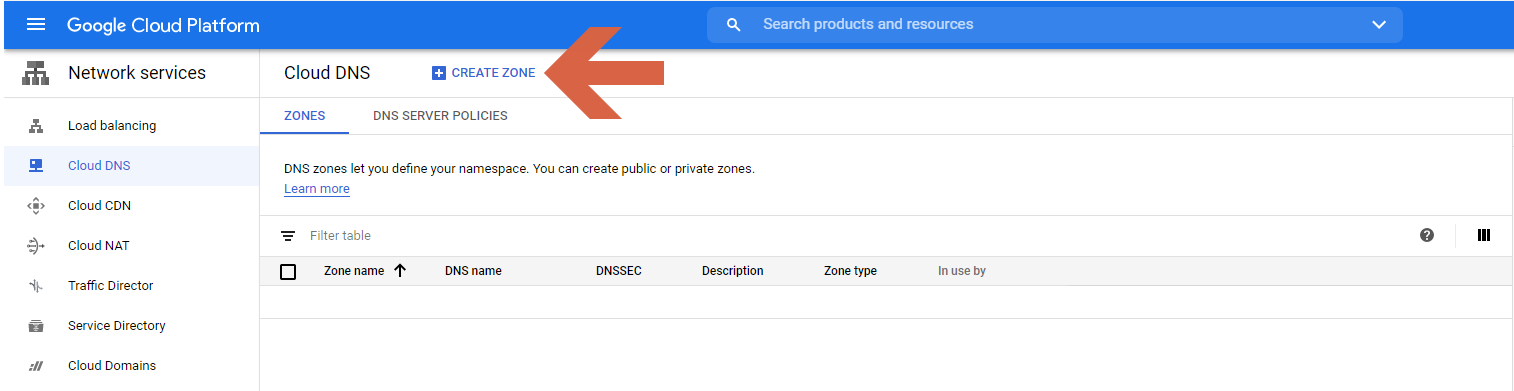
This will display the Create a DNS zone view and you’ll have a few things to enter. Zone type will be Public by default, a name for your zone like myCoolZone, and the DNS name which is the domain name you have with Google Domains. DNSSEC will enable DNS Security if you choose yes (there is a link provided there to learn more), and a text area to enter a Description for your zone. All that’s left is to click the Create button.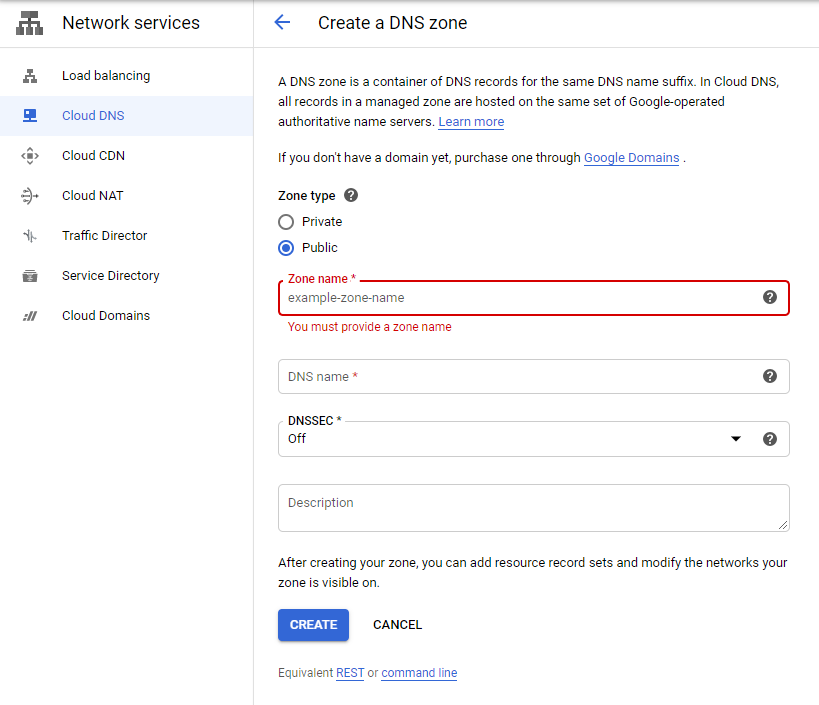
Once the zone has been created you’ll have two automatically created record sets, SOA and NS records, you’ll need the NS records later.
Now, if you already have a site set up in GCP (I won’t be covering that here), or once you do, you’ll come back to this zone and enter a new Record Set for an “A” record, and use the external IP of your cloud site. The real magic happens now, by taking note of the NS record values, similar to ns-google-??.googledomains.com, there will be four of them. Then go over to your Google Domains account, click DNS is the navigation menu of your domain and in the Name Servers area, select the radio button for Use custom name servers. Make sure to edit the values to match the ones you noted in your Cloud DNS zone. Once this is done, you should be able to navigate to your domain in a browser and see your site come up!
Now, you may want to take advantage of Email forwarding. If you were someone who already had a domain with Google Domains and was using email forwarding, it will now no longer work because of the switch to using custom name servers. However, this is easily remedied, in the DNS area of your Google Domain scroll down to the Synthetic Records area and expand the Email forward row. Here you will find 5 MX records, just like the NS records in the previous step, you now need to take these MX records and add them to your Cloud DNS zone on GCP. Once complete, you can navigate to the Email area in your Google Domain, scroll down to the Email Forwarding section and add an Alias. Wildcard is available here so that *@yourdomain will all forward to an inbox of your choosing!
I hope you found this helpful!